How to Build a Retaining Wall (Block), Step by Step
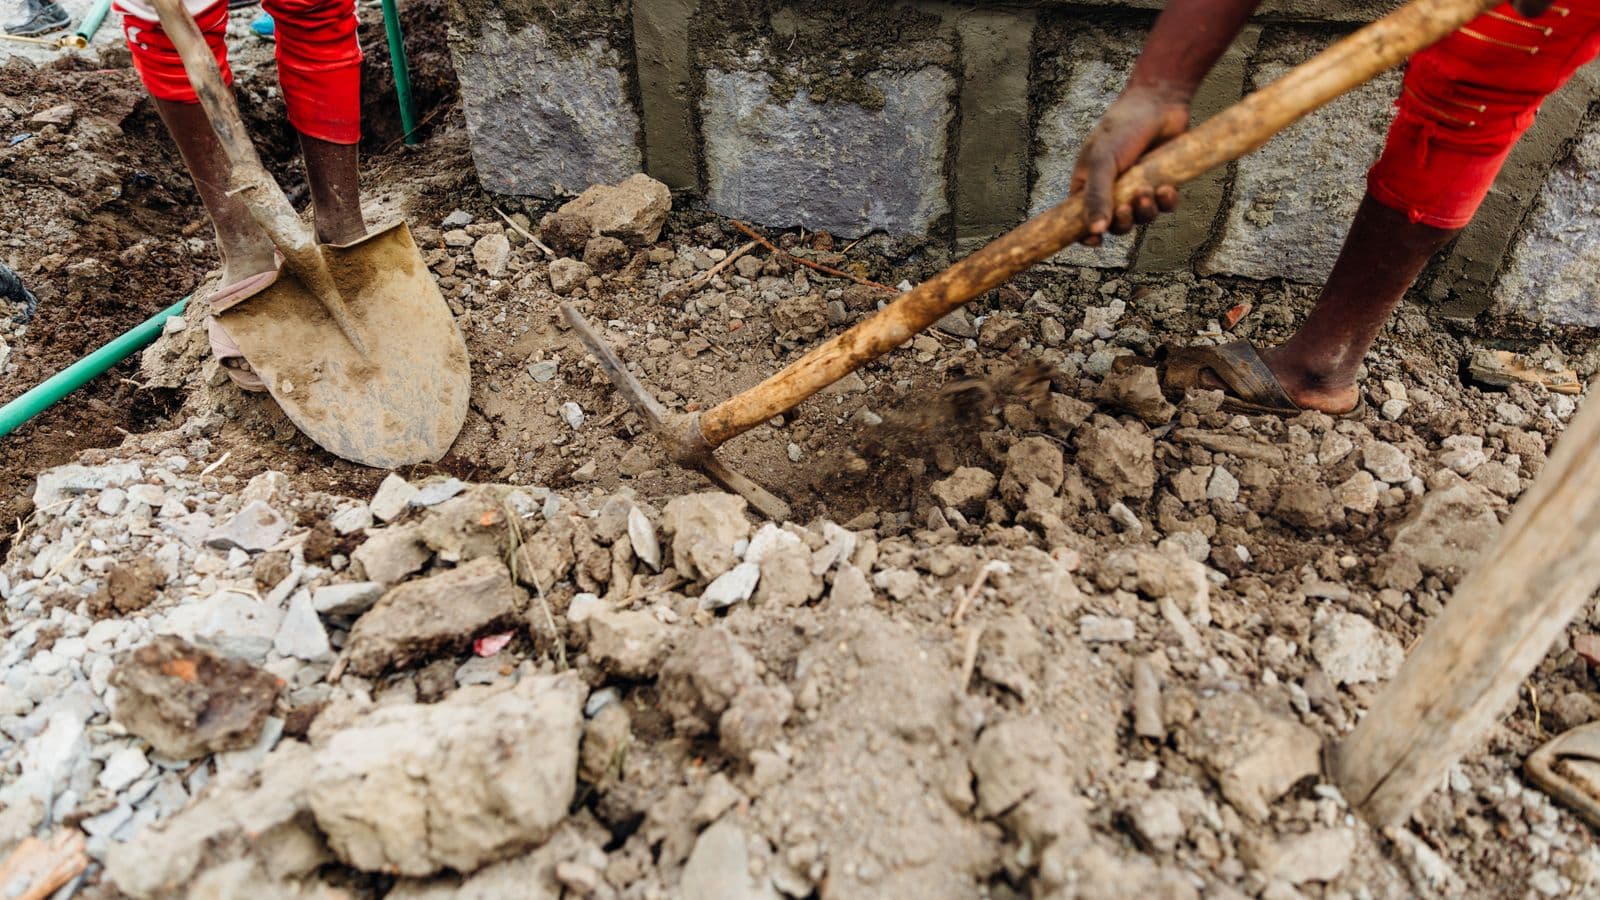
A retaining wall that leans, bulges or dumps mud onto the patio after one wet winter almost never fails because of bad blocks. It fails because of a shortcut taken in the first two hours, one nobody notices until year three. Learning how to build a retaining wall properly, in the right order, is what separates a wall you forget about for thirty years from one you're rebuilding in five. This guide covers the full segmental block build from string line to cap, for walls up to about 4 ft. Follow it in sequence and you shouldn't need to guess at any step.
- Bury the first course: at least 10% of the wall's exposed height, or one full block, whichever is bigger.
- A dead-level 6-inch compacted crushed stone leveling pad is the single biggest predictor of a straight wall years later.
- Compact backfill in 6-8 inch lifts behind the wall — that's the standard NCMA recommendation, not a rough guess.
- Most US jurisdictions exempt walls under 4 ft (measured footing to top) from a permit, unless the wall carries a surcharge — check your local rules before you dig.
- Geogrid isn't optional once height, slope or surcharge load cross a threshold — run the calculator to see if your wall needs it.
- A weekend, two people and a rented plate compactor will get most 20-30 ft garden walls done — see the FAQs below for the full time and cost picture.
Before you start
Two decisions come before you touch a shovel. First: how tall is the wall, measured from the bottom of the footing to the top of the cap? Second: does it hold back a slope, a driveway, or a structure's footings above it? Either of those pushes you into "get it engineered" territory well before 4 ft. Most codes, including the International Residential Code, exempt retaining walls under 4 ft from permitting unless they support a surcharge — but your city or county can be stricter, so check before you order block. If you're anywhere near that line, or unsure, run the numbers through the wall design calculator first and consider a call to a local pro via find a pro.
Assuming you're clear to build, here's what you'll want on site before the first block goes down.
| Tool or material | Rough quantity / notes |
|---|---|
| Hand tamper or plate compactor | 1 (rent the plate compactor for base and backfill) |
| 4 ft level + torpedo level | 1 each, check both often |
| Rubber mallet | 1, for seating and adjusting block |
| Wall block | per the block calculator |
| Cap block + concrete adhesive | 1 cap per linear ft; 1 adhesive tube per ~8-10 caps |
| Crushed stone (leveling pad + drainage zone) | see base calculator for your wall |
| Perforated drain pipe + fittings | roughly 1 ft of pipe per 1 ft of wall length |
| Landscape/filter fabric | wraps the drainage zone, per calculator output |
| Geogrid (if required) | per calculator, driven by height and soil |
| String line, stakes, line level | 1 set |
| Wheelbarrow, shovels, tape measure | 1-2 of each |
1. Plan and check
Before you dig, run your wall through the calculator to confirm three things: the base width you need, whether geogrid is required at your height and soil type, and whether a permit applies. These three answers drive everything else you do, so it's worth ten minutes at the kitchen table rather than a guess in the yard.
While you're there, check the site itself. Where does water arrive during a storm, and where does it need to go once the wall is in? A wall built across a natural drainage path without a plan for that water is a wall that will eventually push itself over. Note the soil type too — sandy soil drains fast and holds less lateral pressure than dense clay, which changes your base width and drainage needs. The methodology page explains how the calculator turns these inputs into a spec, if you want the reasoning behind the numbers rather than just the output. Mark your wall's front face with a string line and stakes before you touch a shovel — it's much easier to adjust a string than a half-dug trench.
2. Excavate the base trench
Dig a level trench the full base width plus 6 inches on each side, deep enough to bury the first course (about 10% of wall height, minimum one full block) plus another 6 inches for the leveling pad underneath it. For a 3 ft wall with an 8-inch block, that's roughly 14-16 inches of total trench depth once you add it up — always check your own numbers rather than trusting a rule of thumb from a different wall height.
Keep the trench floor as level as you can manage with a shovel and a long level; you'll fine-tune it with stone in the next step. Watch for buried utilities before you dig — call 811 if you're in the US and haven't already. If your trench gets past about 4-5 ft deep for a taller engineered wall, treat it like a real excavation: sloped sides or shoring, and no one standing in an unsupported trench, per OSHA's excavation standard. Most garden walls under 4 ft won't get near that depth, but it's worth knowing the line exists.
A common mistake here is digging the trench too narrow, then trying to "make it work" by tilting the base course inward. Don't. Go back and widen it — a base course fighting the trench walls never sits right, and it shows in every course above it.
3. Build the leveling pad
Place 6 inches of crushed, compactible stone (not smooth pea gravel, which won't lock together) into the trench and compact it in one or two passes with a plate compactor, checking level constantly as you go — front to back and along the run. This is the step that decides whether your wall is straight in year one and still straight in year thirty, because every block above sits on whatever angle you set here.
"Getting the base right is 90% of getting the wall right — everything you do above ground is just repeating whatever the base course tells it to do." — Slopeify's engineering advisors
Work in thin lifts rather than dumping the full 6 inches and compacting once. Two passes of 3 inches compact far more evenly than one pass of 6, especially with a small rented plate compactor rather than a full-size roller. Screed the top flat with a straight board resting on stakes set to your target depth, then compact again. If you find a low spot after compacting, add stone and re-tamp it — don't just eyeball it level and hope. A pad that's out of level by even half an inch over 10 ft will show as a visible lean by the third or fourth course.
4. Set the base course
Lay the first row of block directly onto the compacted pad, checking level front-to-back and side-to-side on every single block, not just the ends of the run. This is the most important course in the entire wall — bury it as planned in step 2, and don't rush it. Use a rubber mallet to seat each block rather than forcing it by hand; block that isn't fully seated on the stone will settle later and throw the whole course out of level.
One homeowner we heard about set an entire 24-ft base course in an afternoon, checked level only every third or fourth block, and didn't notice a quarter-inch dip in the middle until the fourth course showed a visible wave along the top. Pulling and resetting eight linear feet of finished wall cost him most of a second weekend — checking every block the first time round would have cost him twenty extra minutes. Use a 4 ft level across at least three blocks at a time so small errors don't hide between checks, and step back to sight down the run every few feet.
5. Stack, backfill and drain
Stack each course with the running-bond offset (joints staggered, not stacked in a column) and let the block's built-in lip or pin set your batter — the slight backward lean that gives the wall stability. As you add each course, build the drainage system alongside it rather than as an afterthought: place clean drain rock behind the blocks, run the perforated pipe at the base out to daylight or a drain, and wrap the stone zone in filter fabric so soil doesn't clog it over time. For the reasoning behind why this is non-negotiable, see why walls fail without proper drainage — hydrostatic pressure behind a wall is one of the most common causes of collapse, and it's entirely preventable.
Compact backfill in 6-8 inch lifts as you go, not all at once at the end — this matches the NCMA's documented best practice and keeps compaction energy from pushing the wall face forward. Keep heavy equipment at least 3 ft back from the wall face and use a hand tamper close in. Add geogrid layers at whatever height and spacing the calculator specifies — this isn't a "nice to have" for taller walls; see when you actually need geogrid if you're unsure whether yours qualifies. Skipping a required layer is one of the most expensive mistakes to fix after the fact, since it usually means tearing the wall back down.
6. Cap it
Glue the cap blocks down with a bead of exterior-rated concrete construction adhesive — never mortar alone, which cracks and pops off with freeze-thaw cycles. Finish the grade behind and above the wall so water sheds away from the structure, not toward it, and seed, sod or mulch the disturbed soil so it doesn't wash out in the first storm.
Step back and check the whole run one last time: consistent batter, no visible waves along the top, and the cap sitting flush and tight at every joint. If something looks off along the way, it's almost always traceable back to the base course or the drainage — see why retaining walls fail if you want the full list of failure modes to check against. Done properly, from a level pad to a well-drained backfill, a segmental block wall like this is built to shrug off decades of frost, rain and soil pressure without a second thought.
FAQs
How long does it take to build a retaining wall?
For two people working weekends, a 20-30 ft wall around 3 ft tall typically takes one full weekend for excavation and base work, and a second for stacking, backfill and capping. Taller walls, tricky access, or heavy clay soil can add several days. Renting a plate compactor for both weekends, rather than buying one, is usually the cheaper option for a one-off project.
Do I need two people to build a retaining wall?
You can build a short wall solo, but two people make base-course levelling, moving block and running the drain pipe much faster and more accurate. Blocks in the 40-80 lb range are also awkward, not dangerous, to lift alone for hours at a stretch — a second pair of hands saves your back as much as your schedule.
Can I build a retaining wall on a slope?
Yes, but the trench still needs to step down in level increments that match your block height, rather than following the slope's angle. Each "step" buries the block behind it fully, so from the front the wall still reads as level courses. If the slope is steep or the wall will be tall, get an engineer to check the base width and drainage plan before you start.
How much does it cost to rent the tools?
A plate compactor typically runs $60-100 a day or $200-300 for a weekend from most equipment rental chains, and a rubber mallet or level are cheap enough to just buy. Budget rental costs into your overall project alongside block, stone and pipe — the calculator's materials list gives you quantities for all three so you're not guessing at the yard.
Do I need geogrid for a small garden wall?
Not always — short walls with good soil and no surcharge often don't need it. But height, slope above the wall, surcharge loads and soil type all affect the threshold, so it's genuinely worth checking your specific numbers rather than assuming a "short" wall is automatically exempt. The geogrid guide walks through exactly when it kicks in.
Base width, factors of safety, materials and cost, all free.